OK, on to our house. You may have forgotten by now, but I promised you pictures of our home’s exterior a really long time ago. Sorry about that! I had to dodge wind, rain and SNOW (!!!), but I finally got around to taking a few. Thank you for patiently waiting!
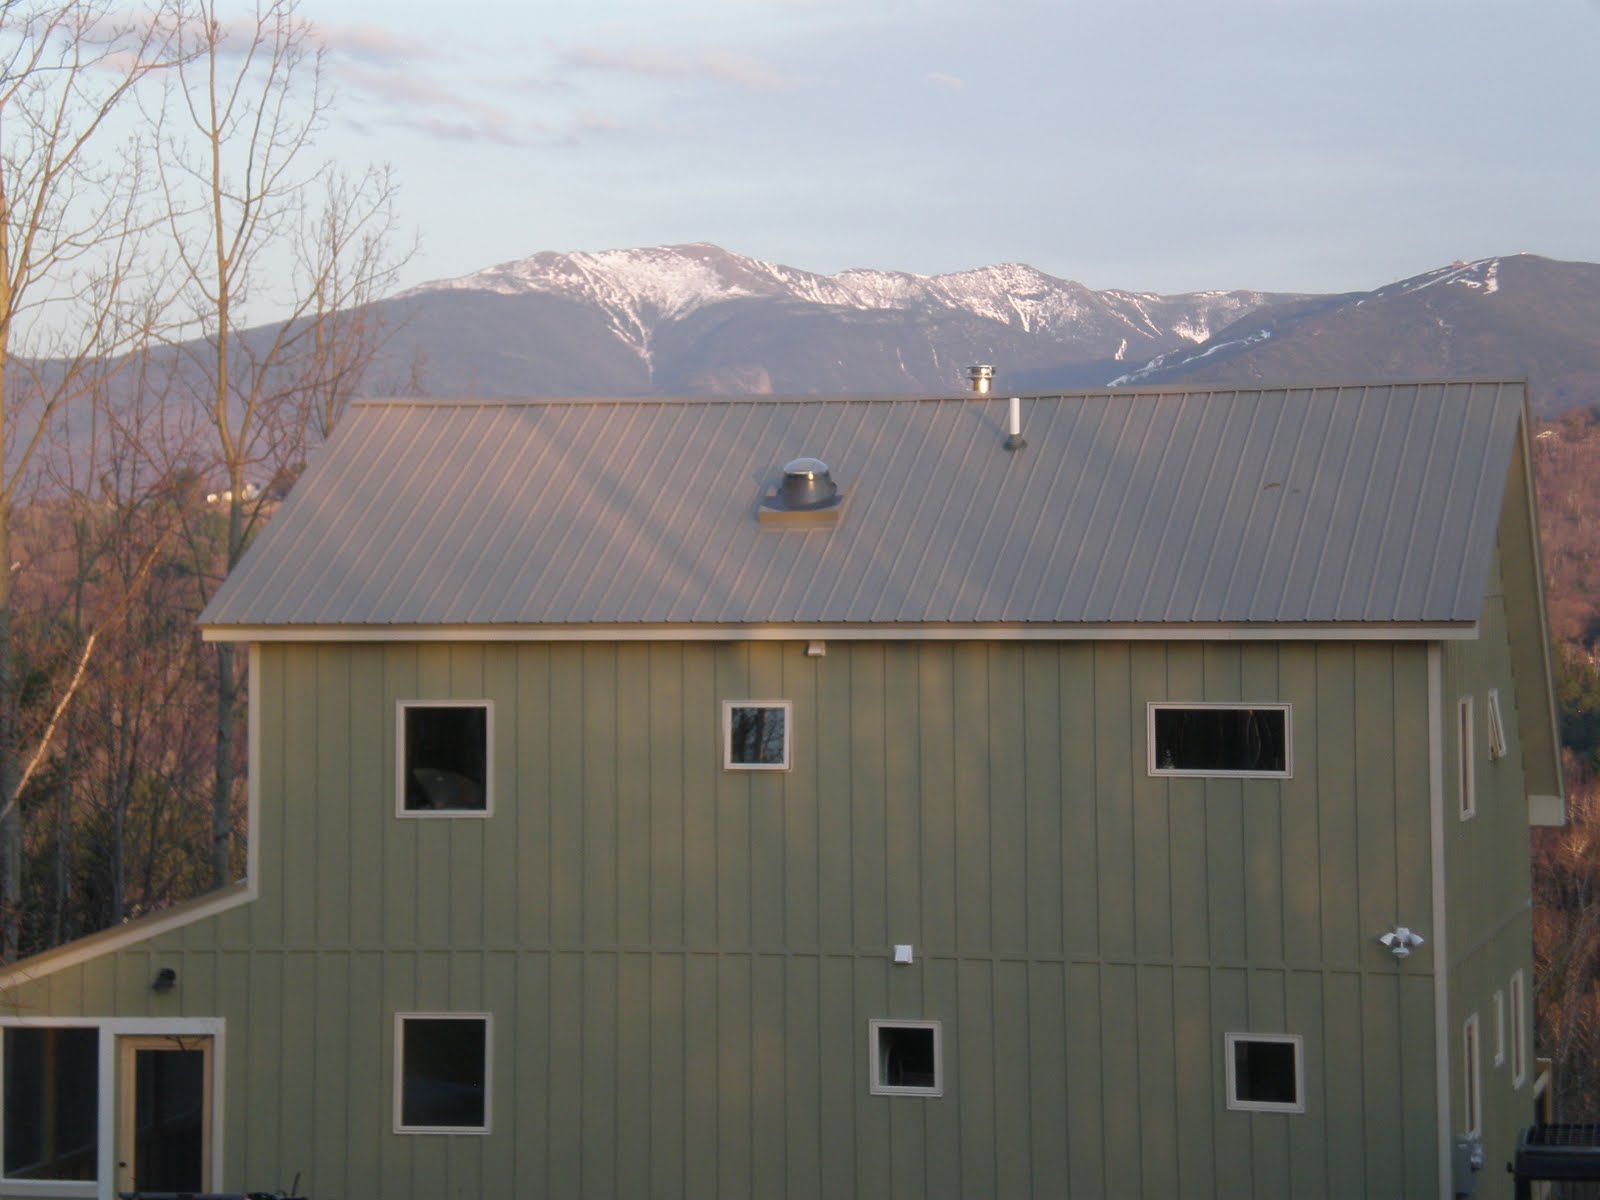
This is the north side of our home. I cropped out the pieces of machinery that haven't left our driveway yet! The weight limit should be lifted from our dirt road soon enough, though! That little bubble sticking out of our roof is a solar tube, which I'm happy to report, provides a surprising amount of light into the second floor bathroom. This time of year we are able to go until after 7:30pm without using an actual light in the room.
 Below is a close up of our screened-in porch, which serves as the entrance to our home. We learned pretty quick that the porch will see much use--especially in "mud season" and during the winter. I've been told the screens will be a blessing in "black fly season" too.
Below is an interior shot of the porch ... unfinished as of now. If there's some left over, we are going to use the extra HardiePanel siding to cover the unfinished portion under the screens.
 A photo from the east side of the house puts the screened-in porch into perspective a little better.
  And here's a view of the home from the west...which also shows our utility meters. One meter is designed for homes like ours that are net metered, so it runs both forward and backwards depending upon energy consumption/solar production. The other measures only our solar production and is used for renewable energy credit purposes.
  In the photo below, I'm standing at the edge of the clearing in our back yard, looking up at the south side of our home. I hope this gives you a better feel for our passive solar design. This side is where the majority of our windows exist and where our solar panels soak in the rays. The two solar panels on the top left of the metal roof are for solar hot water. The rest are to offset general electricity use. Our wood stove pipe is positioned to eliminate shading on the photovoltaic and solar hot water panels.
Here is a shot of our deck railing. We chose a wire insert instead of traditional vertical wood slats so as not to disrupt from the view.

Oh, right, and speaking of the view...
 Whatever word I choose doesn't give it justice. And neither does that photo. It's our favorite part of the house.
 I'm going to leave you with this photo ... just in case you thought I was joking when I said we had snow in April.


